
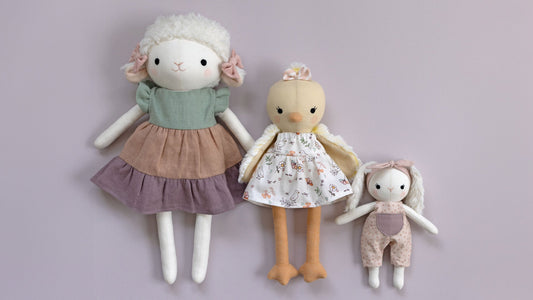
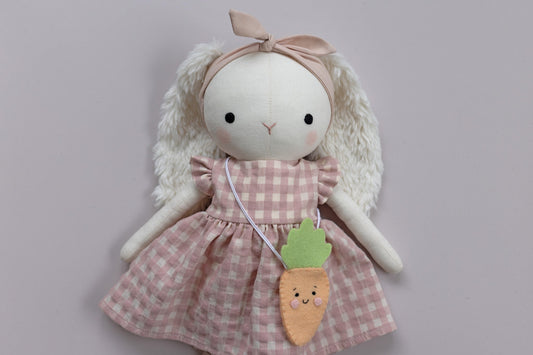
There are lots of tips and tricks that I have learnt over the years that make doll-making quicker and easier. I share lots of them in my animal doll sewing patterns so you can get the best result possible. In this post, I share my top five doll making tips. I hope you find them helpful, whether you are new to making dolls or have some experience.
Easy turning
If you have ever tried turning doll arms and legs the right side out without any tools, you will know how tricky it is. There is no room for your fingers to squeeze inside to flip the fabric. A chopstick can speed things up, but a turning tube will make this job a breeze! If you plan on making more than one doll, this is a must-have item for your sewing kit.
A turning tube comes with two parts - a tube and a stick. Place the tube inside the limb until it reaches the tip.

From the outside, place the stick into the opening of the tube. This will make an indentation in the fabric.


Continue to gently push the stick inside the tube so that the arm or leg turns right side out.

Turning tubes aren't expensive, and the stick doubles up as a stuffing tool. Before you rush out and buy one see if you can make one at home. You could use a metal straw and a chopstick, for example.
Simple 1/4” seams
Doll-size sewing means doll-size seams! All my sewing patterns include a 1/4” seam allowance, which is smaller than the 5/8” seam allowance usually used for sewing human-sized clothes. Sewing machines don’t have 1/4” marked on the sewing plate. So how can you easily sew a 1/4” seam, and how important is it that you are accurate?
Crooked seams or seams sewn larger or smaller than the seam allowance can affect the size and shape of your doll and whether or not their clothes fit. Sewing at such a small scale means that even stitching 1/8” past your stitching line can make a big difference to the end result.
So how do you easily sew a 1/4” seam? One trick is to mark 1/4” on your machine using masking or Washi tape. Line your fabric up with the edge of the tape and sew. Easy peasy!

Another trick and my favourite method is to use a 1/4” sewing machine foot. With a 1/4” foot all you need to do is line up your fabric with the outside edge of the foot. This makes sewing 1/4” seams super easy - even around curves!

Lucky for us doll makers, a 1/4” seam allowance is also used for quilting and patchwork, so most sewing machine brands make a specialised 1/4” patchwork/quilting foot for their machines. By coincidence, the basic foot for my Bernina sewing machine happens to be 1/4”. So check the feet that came with your machine before rushing out to buy something new.
Don’t scrimp on stuffing
It can be tempting to save money on your doll-making supplies by scrimping on stuffing. No one is going to see it, right?! When you look through the bag, the cheap, unbranded stuffing often looks and feels the same as the more expensive options. This is usually not the case.

Cheap stuffing can make your doll lumpy, and it's less likely to hold its shape as well over time. Your doll might look ok when you first make it, but this will change the more you handle it. Use the best stuffing you can afford, choosing one that is light and airy with as few lumps as possible.
Pinking perfection
Pinking shears look like regular scissors, but they have a serrated blade which cuts a zigzag edge into the fabric. Use them to trim your seam allowances to remove bulk.

This will make turning the body right side out much easier. Curved edges will look smoother and rounder because the fabric can stretch more. Using pinking shears to trim the seam allowance on doll clothes will prevent them from fraying. This will help clothes to last longer if they are handled a lot.
Handy hemostats
One of the biggest game-changers was discovering hemostats (otherwise known as forceps). They look like scissors but they don’t have sharp edges and can’t cut anything. Instead, the tips grasp things. They can be ‘locked’ so they hold on to fabric, making them a handy tool for turning small pieces right side out.


Hemostats allow you to reach into parts of the body that are difficult to get to with your hands. This makes them useful for pushing out seams and stuffing. Being able to pick up stuffing and easily direct it to hard-to-reach places such as the tips of arms and legs saves considerable time!

What are your favourite doll-making tips? Share them in the comments below.

Pin this image save these tips to Pinterest
9 comments
I am having trouble finding the how to videos
Oi. Como faço, para conseguir o molde?
Oi, amei o seu trabalho são lindos e perfeitos, parabéns. Eu gostaria de obter moldes, você vende?
Por favor, me informe! Bejosssss 🥰💕
Olá, adoro seu trabalho mas no momento não tenho condições de comprar
Vicê tem algum molde gratuito?
Hola, quisiera hacer todas tus adorables muñecas, podrías enviarme uno gratis , antes de comprar los demás, plis